.jpg&w=3840&q=75)
Advantages & Benefits
Of Real Estate Photography with Statistics as Proof:

Increase clicks and inquiries on online listings
Listings with professional photos get 61% more views online
Sells the property faster
Listing with professional photos sell 32% faster spending only 89 days on the market as compared to 123 days for other homes
Sells the property at a higher price
Have a 47% higher asking price per square foot
If you are a beginner or seasoned real estate photography professional, this quick guide on real estate photography will give you some real handy tips to help you take professional real estate photos.
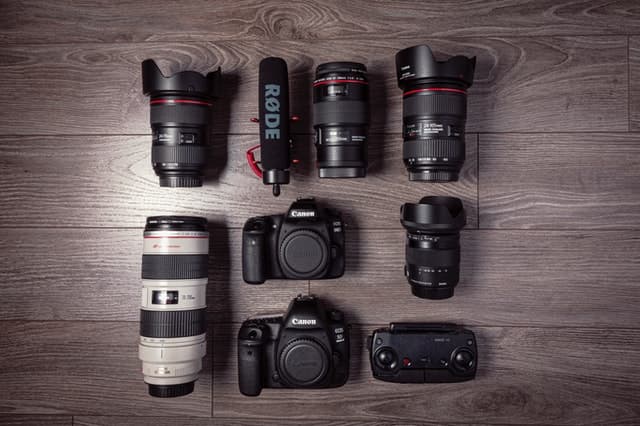
Real Estate Photography Equipment
Full-frame camera for real estate photography with interchangeable lenses for great quality photos
Sturdy tripod to keep the camera still
Wide-angle lens to get a fuller view of confined spaces
External sync flash for capturing all the details in an image
General Tips for Getting the Most Out of Your Pictures
Avoid taking only wide shots
Although shooting wide is important for a lot of your shots, avoid taking every shot at an extremely wide-angle. Shooting too wide can represent the room inaccurately and create an unrealistic idea of the room's space. So, try and mix it up to capture the room accurately.
Move around
Move around to play with different perspectives. So, move around and take as many different shots as possible. Try taking photos from the bedroom entry, and avoid cropping any furniture out of the bedroom.
Focus on your composition
Understand the various elements in your photos and use them to create appealing compositions that will highlight the property's best features.
Use different heights
With the help of a tripod, adjust the height to capture the room at flattering angles.
Get the best lighting in each room
Use the flash when needed to ensure that all rooms have the best lighting.
Choose best camera setup and settings
The best camera settings for real estate photos can greatly simplify your work and capture every detail perfectly in the image. Here are some great tips on the best camera set up for real estate photography.
Prep the Scene
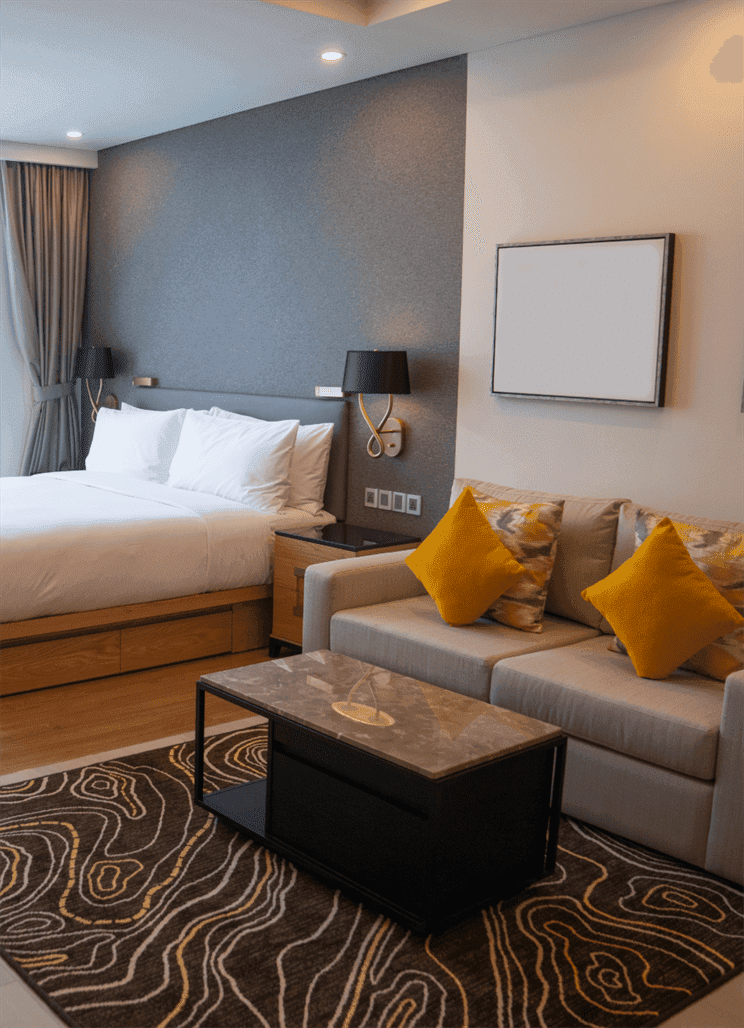
Interiors:
- Remove the number of personal belongings like toys, fridge magnets, bins, family photos, and religious items visible in a photo.
- Remove clutter, like paperwork, cans, bottles, clothes, or any unnecessary items.
- Move furniture to frame an image better
- Straighten furniture and linen
- Turn on lights and open all blinds
- Dust every surface
- Clean all windows, inside and out
- Place towels on all towel racks
- Tidy closets
- Remove rugs to open floors and to make the space look bigger
- Make all the beds
- Edit artwork
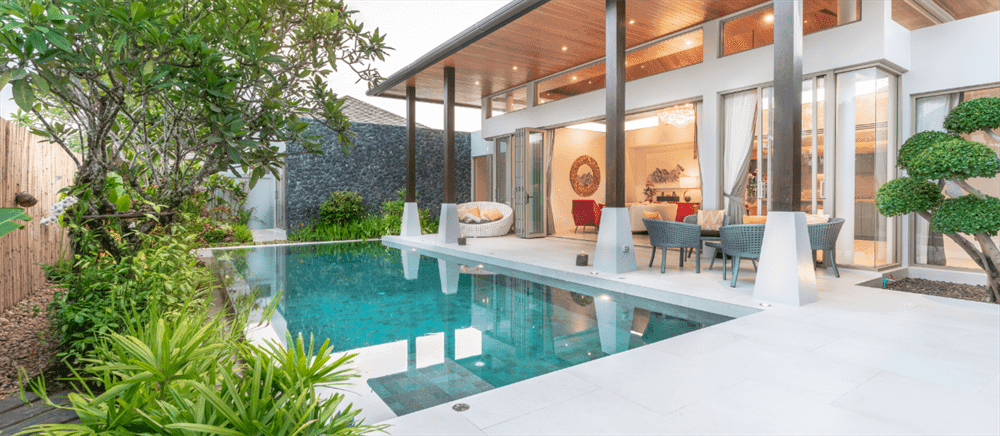
Exteriors:
- Wash, sweep, and dry all pavement
- Clean and open your pool
- Remove trash, cans, vehicles, or lawn equipment
- Mow and rake the grass
- Ensure all exterior lights work; if needed, replace the bulbs
Shoot the Scene
Once your property is set, it is now time to take photos. Here are a few basic tips:
Tips to get the best internal photos of a property:
- Adjust heights according to the room. For example, kitchens are the best shot at chest height. 99% of virtual tours and photos are shot at eye level to enable the potential buyer to see walkthroughs and photos at their eye level.
- Align the two corners of the room. Get a wide perspective by standing in one corner of a room to capture the other three corners.
- Open all doors to make the room appear larger and display the flow of the property.
- If a bathroom or kitchen has great fixtures, capture them in the image to show them off.
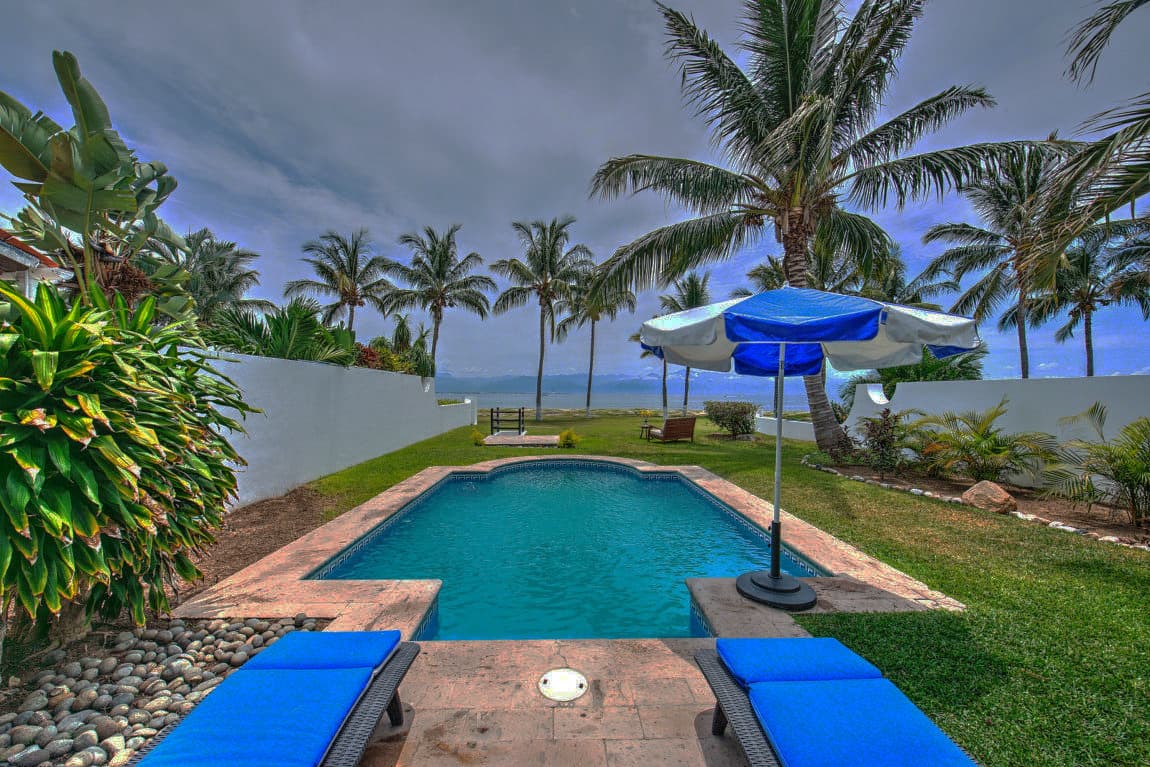
Tips to get the best external photos of a property:
- Shoot the front of the house at a higher elevation to capture more of the property and get a better perspective.
- Avoid shooting in the middle of the day. This is when the shadows are the darkest and overhead.
- Turn on all lights, internal and external (except spotlights)
- External shots are the best on overcast days as it reduces the shadow in the image. If you aren't lucky with overcast, you can always get your photo edited post-shoot with day to dusk editing.
After the Photos are Taken
Once you have your final photos, you may realize that some of them didn't turn out as expected. The lighting in a room isn't appealing in some photos while the grass looks dead and the sky looks grey instead of blue in others – when this happens, the best thing you could do is outsource the editing workflow to professional photo editing and image enhancement service providers.
Advantage of Outsourcing Your Post Production Photo Editing Work
Although professional photographers can do some basic image enhancement such as sharpening, correcting color, and straightening images, professional photo editing services offer a huge range of photo editing options with quick turnarounds. These professionals have huge resources, stock images, and other elements that help them deliver a huge work volume within a 24 hour turnaround time.
Styldod is a professional real estate photo editing service company that can get a huge volume of work done in a tight timeline.
REAL ESTATE PHOTO EDITING
BEFORE
AFTER
Real Estate Photo Editing Services by Styldod
 BEFORE
-min.jpg&w=3840&q=75) AFTER
AFTERGet more from your real estate photos and boost your real estate sales by getting your real estate photos edited from Styldod.
Contact Us NowReal Estate Photography FAQs
For real estate photography, use a wide aperture (f/8-f/11) for sharp images throughout, ISO 100-400 for minimal noise, and shutter speed based on available light. Use a tripod for stability and shoot in RAW format for maximum editing flexibility.
The best approach includes: investing in a good camera, prepping or staging the property, using as much natural lighting as possible while shooting, choosing the best angles and compositions, and editing or touching up the photos professionally.
Real estate photographers typically charge around $25 per hour, though rates vary based on location, experience, and services included.
All of the 24-70mm f/2.8 lenses from Nikon, Sony, Canon, Tamron, Sigma, and Tokina can be used for real estate photography. This focal range offers versatility for both wide shots and detail captures.
Although many professional real estate photographers choose to shoot in the 22-24mm range (about 14-16mm on a crop sensor camera), anything in the 12-35mm range on a full-frame camera works fine.
For real estate photography, most professional photographers use a full-frame camera. But the camera by itself does not guarantee great photos. A lot goes into what's behind the camera – composition, lighting, and color. So, in general, if you want to reduce your real estate photography costs, you can also use a cropped sensor gear.