As a real estate photographer, your workplays an important role in helping properties sell faster. High-quality imagescan lead to a 32% faster sale, and homes with aerial shots are sold 68%quicker. In addition, virtual tours and videos are proven to increase inquiriesby 403%, with 63% of buyers making offers after viewing them. With an averagecost of just $230 per shoot, investing in your craft not only benefits yourclients but can also boost your income. To help you stay ahead of thecompetition, here are 13 realestate photography tips that will make your work better and help you deliver stunning results.
Table of Contents
- 12 Real Estate Photography Tips
- Invest in the Right camera
- Make a Shot List
- Check Equipment before Shoot
- Contact the client or the real estate agent in advance
- Scouting the Location
- Coordination with Homeowners or Stagers
- Always Check the Weather First
- Get the Lighting Right Inside
- Show Off the Property’s Best Features
- Set Your Camera Up Properly
- Get the right accessories
- Don’t Skip Post-Editing
12 Real Estate Photography Tips
Let us explore each of these in detail below
Invest in the Right camera
Choosing the right camera is essential for real estate photography if you want to take great photos that show homes the way you want them to. When selecting a camera for real estate photography, keep the following things in mind:
- Real estate photography can be done with either a full-frame or a crop sensor camera, but full-frame cameras have the advantage because of their bigger sensor size. Full-frame sensors have greater light sensitivity, which increases low-light performance and image quality. Crop sensor cameras are a good option for beginners because they may still provide great images and are often less expensive.
- Megapixels: More megapixels give one more freedom and detail when cropping or printing images. Consider buying a camera with at least 16 to 24 megapixels for real estate photography. By doing this, you can take clear, detailed pictures that may be cropped or resized without losing quality.
- Consider whether wide-angle lenses are available for the camera you select when choosing a lens. In order to show the correct size and layout of rooms, wide-angle lenses are crucial in real estate photography. To increase your creative options, look for a camera that allows for a large variety of lenses, especially wide-angle options.
- Manual controls: When shooting real estate, it's often required to have exact control over camera settings like ISO, shutter speed, and aperture. To capture the proper depth of field and modify settings to suit various lighting conditions, make sure the camera you use has manual control.
- Dynamic Range: A camera's dynamic range is its ability to capture details in both bright light and dark shadows. With bright windows and darker interiors, properties often have differed lighting conditions. For photographs with both bright and dark areas that show details, look for a camera with a good dynamic range.
- Performance in Low-Light Conditions: A lot of real estate photography sessions take place indoors with little natural light. In particular at higher ISO levels, a camera with good low-light performance is advantageous. Even in places with poor lighting, you can use it to take well-exposed images with little noise or grain.
- Tethering and Wi-Fi Capabilities: Check to see if the camera has built-in Wi-Fi or tethering support. You can see images previewed on a bigger screen by tethering your camera to a computer or tablet. With built-in Wi-Fi, it's simple to wirelessly send photos to your mobile device for editing or sharing.
- Budget: Set a budget that reflects your needs and level of expertise. Find a camera that strikes a proper balance between performance and budget, then decide which features are the most important for your real estate photography job. Don't forget to include in other costs like lenses, gear, and software for post-processing.
You can explore our article on Best camera for real estate photography and The Ultimate Guide To Real Estate Photography Lenses
Create a Shot List Before You Begin
Don’t walk into a shoot without a gameplan. A shot list helps you stay organized and makes sure you don’t miss anymain areas. Think about what buyers care about most and list down those shotsahead of time. This way, you can move through the shoot smoothly and covereverything. Here's a solid list to get you started:
- Front exterior
- Back exterior (only if there’s a pool, garden, or anything worth showing)
- Bedroom
- Living room
- Bathroom
- Kitchen
- Dining area
A good shot list savestime and keeps your shoot organised.
Check Equipment before Shoot
Ensure that all of your equipment is in good working condition and is fully charged. Check all of your accessories, including your camera, lenses, tripod, flash, and other devices. Keep extra memory cards and lenses in hand, and clean your lenses. It is advisable to have backup equipment in case there are any unexpected issues during shooting.
Contact the client or the real estate agent in advance
Go over every aspect of the shoot. Confirm the session's start time, end time, and length. Obtain important information about the property, such as its size, standout features, and any particular regions or perspectives the customer would like to highlight. Knowing what the client expects can help you plan and carry out the shoot well.
Scouting the Location
Check out the location in advance to become familiar with the design and determine the lighting options. Anything that demands extra care throughout the shot should be noted. You can plan the composition, angles, and lighting strategies for each room or external photo by predicting the characteristics of the location.
Coordination with Homeowners or Stagers
If the property is already occupied, work together with the owners or stagers to get the area ready for the shoot by cleaning, decluttering, and staging it correctly. Give them tips on how to make each area presentable, including how to clear out their belongings, organize, and arrange furniture.
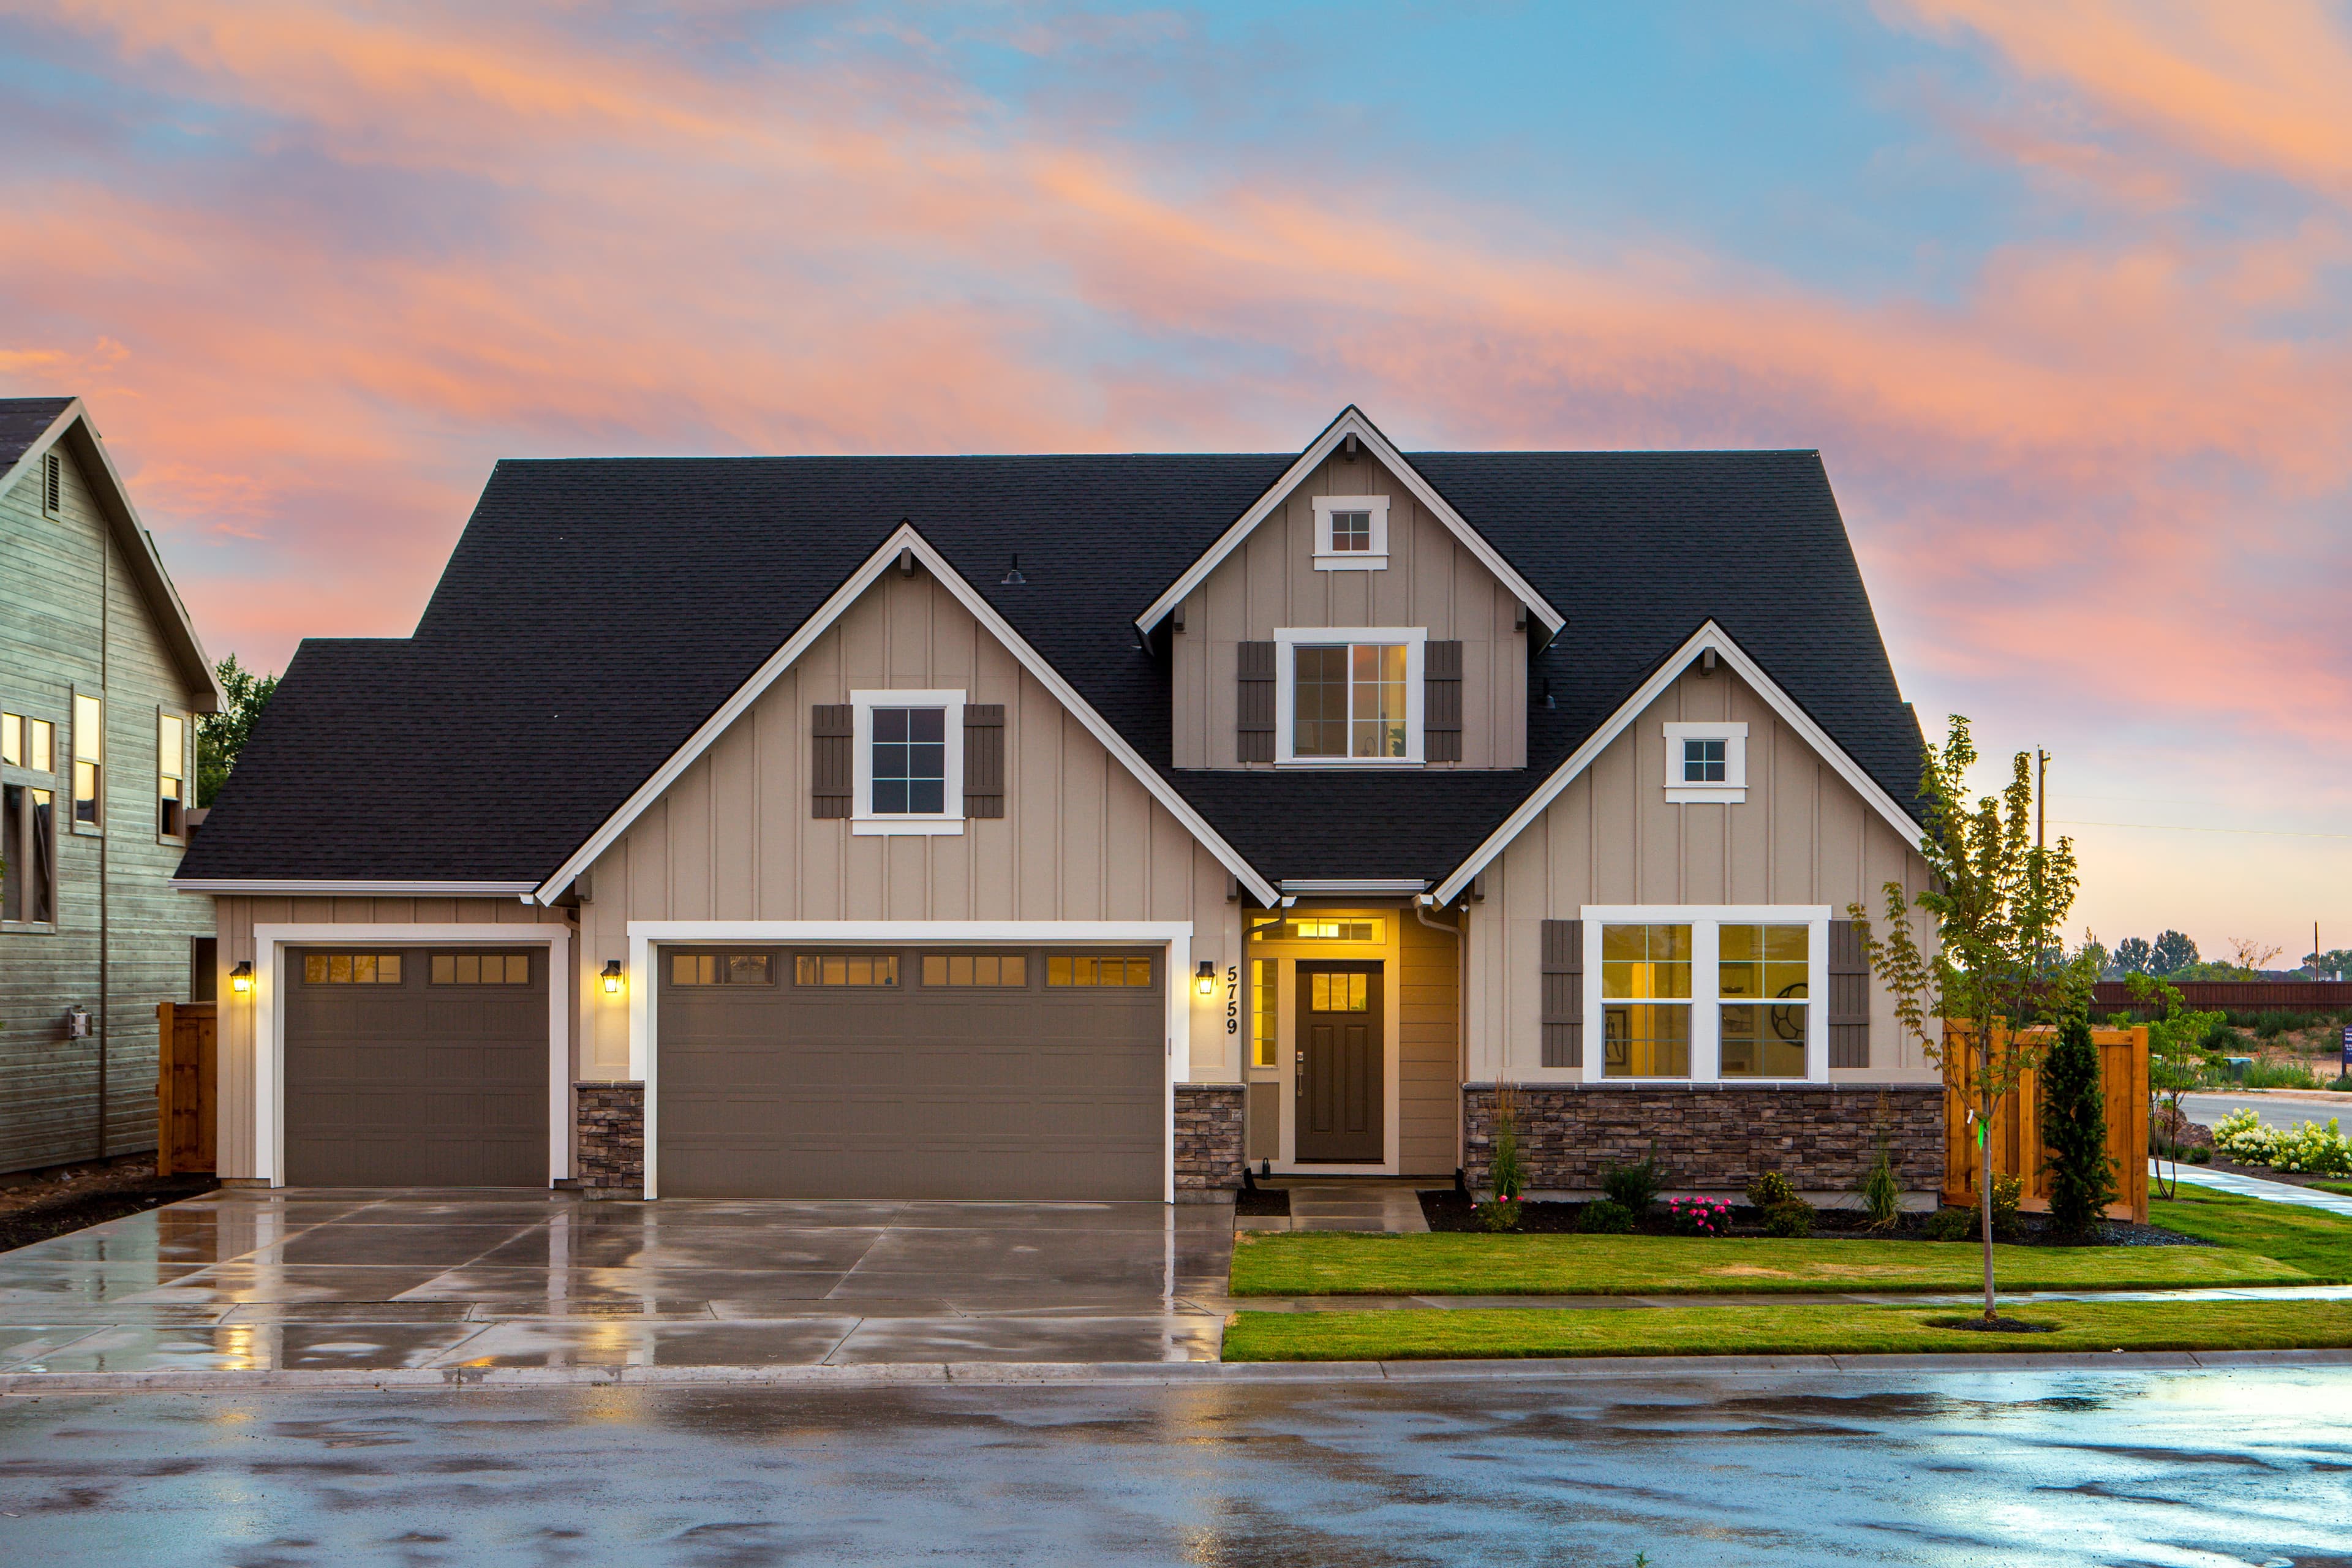
Always Check the Weather First
Natural light can make your photos pop with color and detail. So, beforeyou grab your camera, check the weather. If it’s looking too cloudy, it mightbe better to reschedule. On sunny days, try shooting when the sun is behind orbeside the property to avoid harsh shadows. Good light can completely changethe look and feel of your photos.
Get the Lighting Right Inside
Indoor lighting can make or break your photos. To get the best output,you must open all the curtains and blinds to bring in natural light. If theroom still feels dark, add soft lightingusing tools like reflectors, flash units, or softboxes. Also, switch on allindoor lights for a warm, welcoming vibe. Early mornings or late afternoons areusually the best times to shoot inside.
Show Off the Property’s Best Features
Think about what makes the home stand out. Is it the high ceilings? Thefireplace? Maybe it’s the stunning kitchen countertops? Don’t just take wideshots. Make sure you zoom in on those features. Highlighting these detailsmakes your listing more appealing and helps buyers remember it. If you’relisting on platforms like Zillow, these standout features also show up insearch filters, so don’t miss them.
Set Your Camera Up Properly
Even if you’re not a pro, using the right camera settings can make your photos look appealing. Start with these settings:
- Aperture between f/7.1 to f/9
- Shutter speed from 1/60 to 1/2 second
- ISO below 400 to keep your images clean and sharp
These settings work well for most interior and exterior shots.
Get the right accessories
- Tripod: For sharp, well-composed images, a sturdy tripod is required. When using longer exposures or taking photos in low light, it helps maintain steadiness. Look for a tripod with a level bubble and an adjustable height.
- Flash and diffuser: A flash can help brighten a room properly when ambient or natural lighting is insufficient. A softbox or flash diffuser can soften the light and lessen sharp shadows to produce a more desirable picture.
- Remote shutter release: A remote shutter release, also known as a cable release, lets photographers click images with the camera without touching it directly, reducing the chance of a camera shake and making sure photos are clear
- Extra batteries and memory cards are necessary to have on hand so that there are no interruptions during a shoot. Having enough storage is a must because taking many photographs for real estate photography is common.
Don’t Skip Post-Editing
Taking the photo is just half the job. Therest happens after the shoot. That’s where your images really come to life. Ifediting feels like too much work, let Styldod handle it for you. Our photoenhancement service takes care of everything, including:
- Brightness and contrast corrections
- White balance fixes
- Straightening tilted shots
- Removing wires, plug points, flash reflections, and even fridge magnets
- Changing sky color
- Enhancing lawns
- Replacing TV screens
- Fixing lens distortion and tone issues
- Sharpening images
- Adding fire to fireplaces for that cozy feel
- Cleaning up dust spots
- Removing flash reflections
- Decluttering backgrounds
And so much more.
Enhance Photos Fast | Try Styldod’s Image Enhancement Service today!
Closing Thoughts
Real estate photography takes practice, but these simple tips can make a big difference. Focus on good lighting, clean framing, and a bit of planning before each shoot. Over time, your photos will not only look better but also bring in more clients. Keep learning and enjoy the process.
Also Read: Real Estate Photography: A Guide To Improve Your Real Estate Photos
Styldod is a design-tech company that aims to simplify real estate marketing and help agents present homes in their most favorable light online by reimagining and automating the listing photography process. Having begun as a virtual staging company, today, Styldod has affordable and best-in-class products and services for every facet of real estate marketing and photography. Styldod’s suite of services include virtual staging, image enhancements, floor plans, virtual renovation, 3D renders, 360 degree virtual tours, and Matterport virtual staging, to name a few. We're trusted by over 10,000 realtors from all over the US and from agencies like ReMax, Coldwell Banker, Keller Williams. Know more about us at https://www.styldod.com.