If you're working in real estate and still not using drone photography, you're missing out. Properties with aerial photos tend to sell faster and stand out better online. In fact, listings with drone shots get 68% more attention and close quicker compared to regular photos. And this isn’t just a trend because more than 80% of real estate pros are already using drones to market properties. Buyers love seeing the full view of a home, its surroundings, and the overall vibe of the area before they even step inside. In this guide, I’ll walk you through how real estate drone photography works, why it matters, and how you can use it to boost your listings.
Table of Contents
- What is Real Estate Drone Photography?
- Traditional Images vs. Aerial Drone Images
- Drone Real Estate Photography Pricing in 2025: What to Expect
- What Affects the Price?
- Real-World Price Examples (in USD)
- >How to Get Started With Real Estate Drone Photography?
- Real Estate Drone Photography Tips
- Taking Your Drone Photography to Next Level
- Frequently Asked Questions (FAQs)
- Key Takeaways
What is Real Estate Drone Photography?
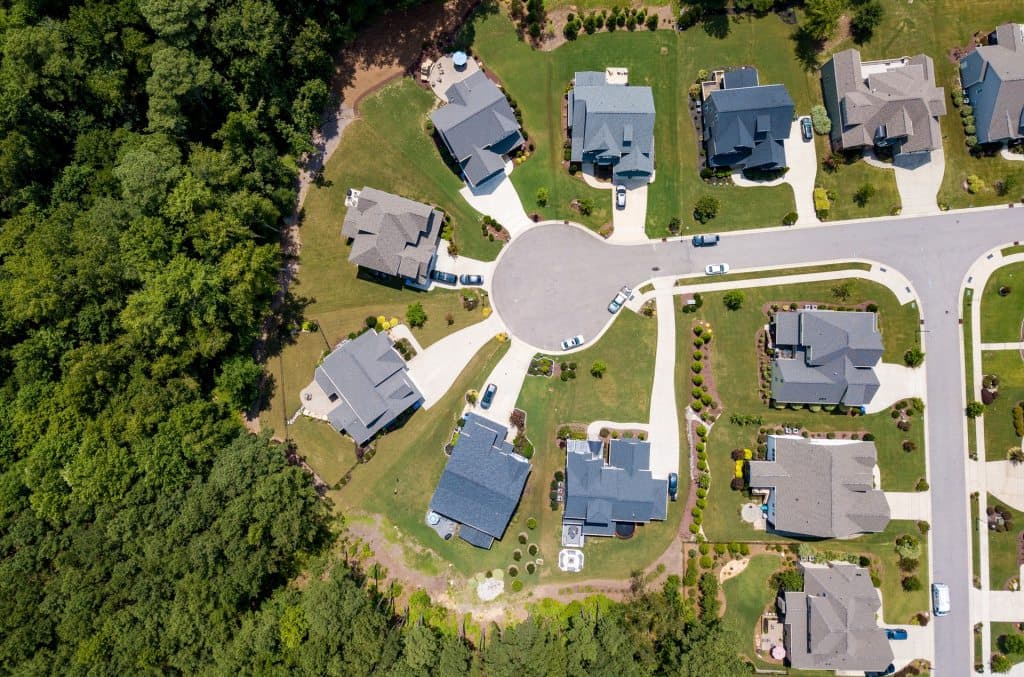
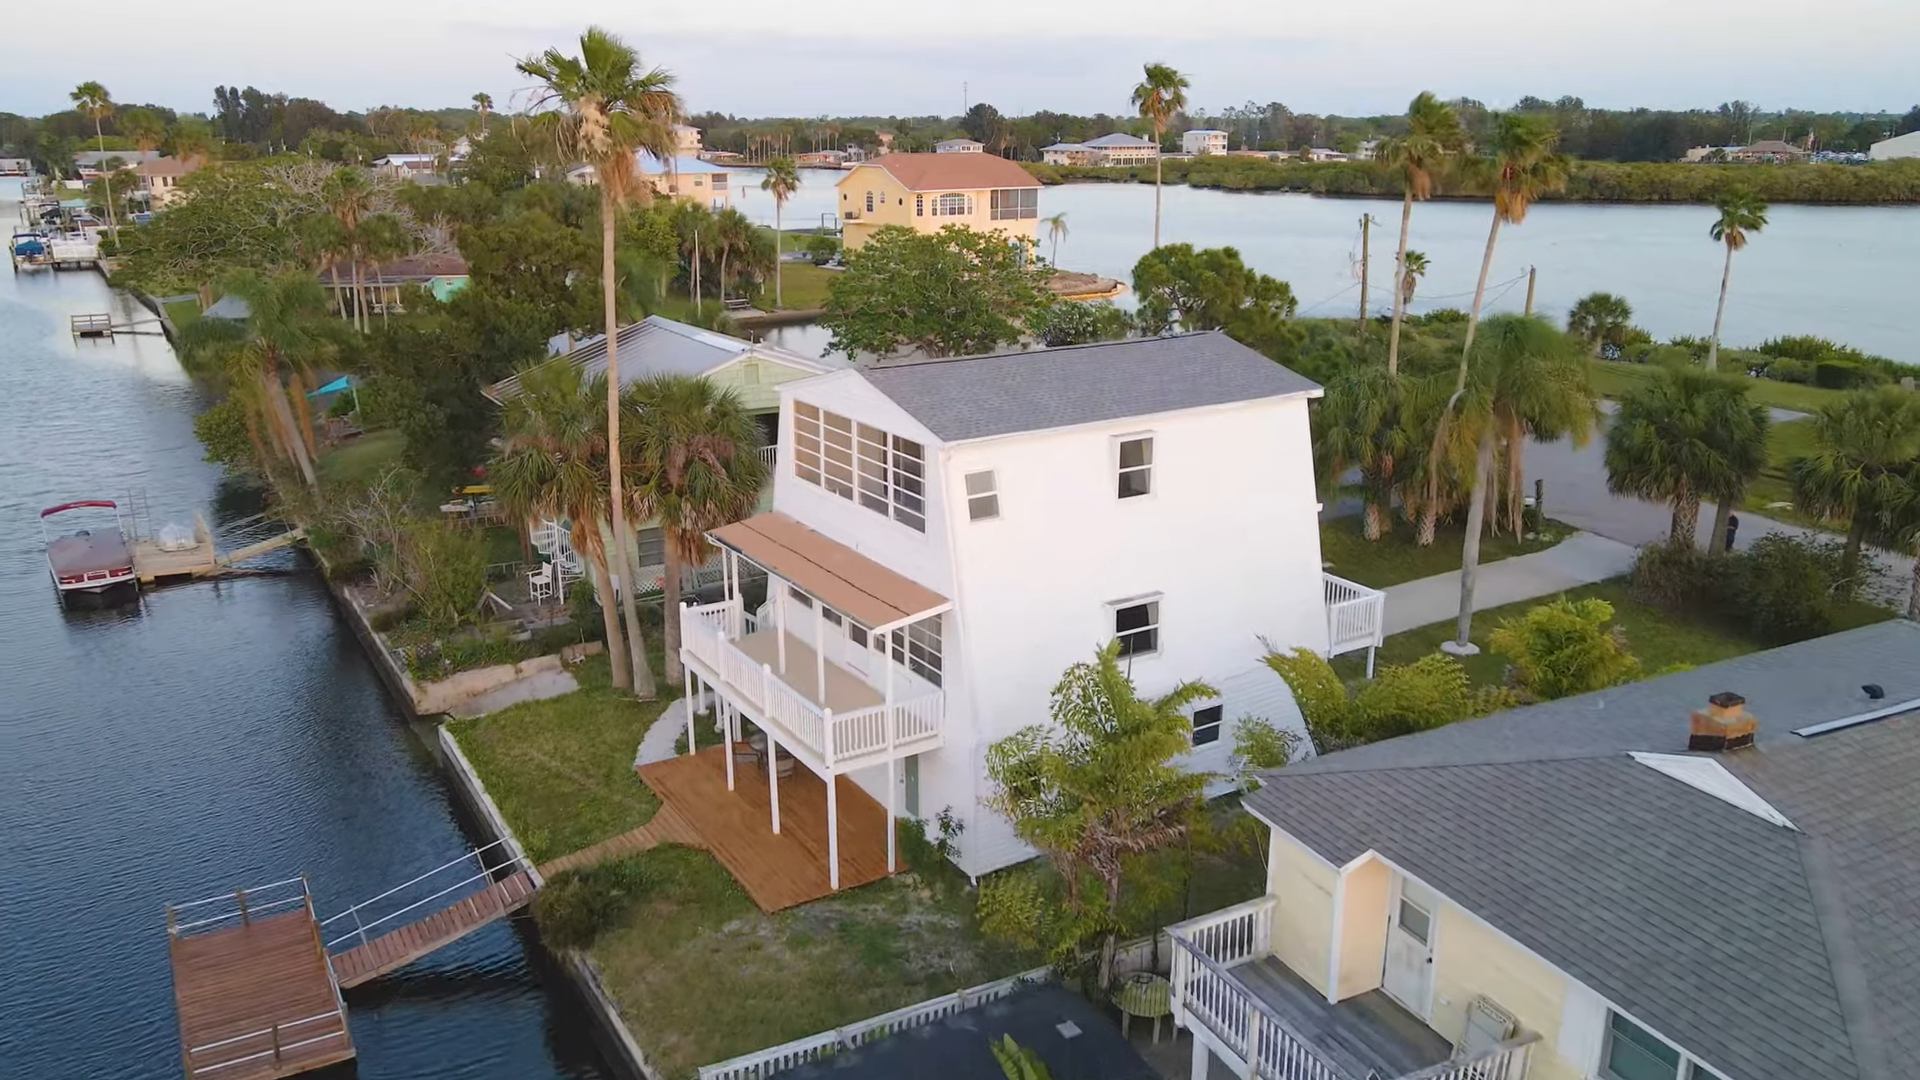
Real estate drone photography is all about using camera-equipped drones to take aerial shots of properties. Instead of just showing a few ground-level photos, this approach gives potential buyers a full view of the property from above. They can see how the house sits on the land, what the layout looks like, and even what's nearby. It’s a great way to highlight features like large yards, pools, nearby parks, or open views. By adding this kind of visual detail, drone photography makes your property listing stand out and helps buyers get a better feel for the space before they even visit.
Traditional Images vs. Aerial Drone Images
| Aspect | Traditional Photography | Aerial Drone Photography |
|---|---|---|
| Camera Angle and View | Images are taken from ground level, showing rooms, angles, and exterior shots from eye-level. | Photos are captured from above, offering a bird’s-eye view of the property, roof, land, and nearby surroundings. |
| Best Use Cases | Ideal for showcasing interiors, architecture, room layout, and finishes. | Great for large properties, plots of land, luxury estates, farms, or showcasing location advantages like sea views, roads, or green space. |
| What Buyers See | Buyers get a clear look at rooms, windows, kitchens, and details of how the home is laid out. | Buyers can see the size of the plot, outdoor features like pools or gardens, and how the home sits in relation to roads, other homes, and landmarks. |
| First Impression Appeal | Works well for listing photos that need to show indoor beauty and comfort. | Adds a wow factor to listings by showing scale and giving context to the property’s location. |
| Technology Involved | Uses DSLRs or smartphones with wide-angle lenses. Tripods and lighting equipment may also be used. | Requires a drone with a camera, GPS, and stabilizers. May also involve post-editing to stitch videos or create smooth flyovers. |
| Ease of Setup | Easier to shoot, usually done in a few hours indoors or around the house. | Requires more planning due to flight permissions, weather conditions, and space for safe flying. |
| Legal Considerations | No legal permission is required to take ground-level photos. | Drone use must follow aviation guidelines. In some areas, you may need permits or clearance to fly drones commercially. |
| Viewer Experience | Provides a close-up feel of living inside the space. Helps buyers imagine themselves in the home. | Gives a complete perspective of the property and its position in the neighborhood. Useful for remote buyers or investors. |
| Cost Involved | Lower cost. Photographers charge per shoot or per listing. | More expensive due to drone equipment, flying expertise, editing, and licensing (if required). |
| Marketing Impact | Standard for all property listings. Helps generate leads and gives enough detail for first impressions. | Helps premium listings stand out. Often used in high-end properties, resorts, or commercial real estate to drive more serious interest. |
| Scheduling and Weather Dependency | Can be done even in less-than-perfect weather, especially indoors. | Heavily dependent on weather conditions like wind and rain. Drone flights usually need clear skies and good lighting. |
| Editing and Post-Processing | Basic touch-ups like brightness, color correction, or object removal. | More complex editing may include flight transitions, 360° views, and aerial mapping features. |
| Suitability for Social Media and Online Platforms | Works well on listing websites, brochures, and print media. | Performs better on video platforms and social media, as aerial shots are more eye-catching and shareable. |
Drone Real Estate Photography Pricing in 2025: What to Expect
If you're planning to hire a drone photographer for your property in 2025, it's good to know how the pricing works. On average, drone real estate photography costs range from $150 to $600, depending on the size of the property, your location, the type of service, and the photographer’s experience.
A basic photo package might cost you around $249, while full-service packages that include aerial video and editing can go up to $500 or more.
What Affects the Price?
- Type of Services If you’re opting for extras like 3D mapping, virtual tours, or advanced editing, you’ll likely be paying a premium. These services require more time and post-processing, which adds to the total.
- Property Size
Smaller properties (under 1,000 sq ft) usually cost between $75 and $150. Larger properties, especially those over 3,000 sq ft, can go above $350, with premium packages going as high as $600 for homes over 6,000 sq ft. - Number of Photos and Videos
Basic packages with 10 to 15 aerial photos generally start around $249. If you're adding videos or want drone footage with editing, expect to pay more. - Photographer's Experience
Beginner drone photographers or those just starting out may charge as low as $75 to $150. In contrast, experienced professionals with certifications tend to charge upwards of $300 due to better equipment, editing skills, and expertise. - Location
Drone services in urban areas can cost more because of high demand and possible flying restrictions. In rural or remote areas, the pricing might include travel charges, which can add to the overall cost.
Real-World Price Examples (in USD)
| Service / Property Size | Price Range |
|---|---|
| Small Properties (under 2,000 sq ft) | $150 – $250 |
| Medium Properties (2,001 – 4,000 sq ft) | $250 – $350 |
| Large Properties (4,001 – 6,000 sq ft) | $350 – $450 |
| Extra-Large Properties (6,001+ sq ft) | $450 – $600 |
| Basic Aerial Package (10 photos) | $249 |
| Premium Aerial Package (10 photos + 2-minute video) | $315 |
| Complete Package (aerial + ground + walkthrough video) | $529 |
How to Get Started With Real Estate Drone Photography?
Now that you’re aware of drone photography's real estate usage let’s talk about getting started with it.
Step 1: Understand the Law
Getting yourself familiar with the local law is advisable before you start employing drone photography in your practice. Here are a few rules to keep in mind
- You cannot operate drones near airfields, airports, and aircrafts
- Your drone should be 150 ft away from property and people
- Drones should stay below 400 ft
Apart from these mentioned rules, additional rules vary from state to state and country-wise. If you fail to follow them, you might get into legal problems.
Step 2: Get a Proper License
To operate a drone business and work as a commercial real estate drone pilot, you must pass the Part 107 test and get FAA-certified.
Once you have your drone license, it needs to be maintained every 36 months. You must keep it up to date by passing a recurrent aeronautical knowledge test every 24 months.
Get in touch with your local authorities in real estate aerial photography. Do your research on operating a drone properly.
Step 3: Buy Your Photography Drone
Once you’re licensed to fly a drone, the next logical step is to start your practice. Buy a photography drone and begin your practice.
Jumping straightaway into taking projects of real estate properties is exciting, but first, you need to practice this skill. Your end goal is to help your clients sell their properties faster. Hence, a great practice is required.
Also Read: Best Drones For Drone Photography In Real Estate
Real Estate Drone Photography Tips
Incorporate these tips the next time you do drone photography in real estate:
1. Set Up the Listing Landscape
Before you start shooting the listing using drone photography, look at the surroundings and spruce it up. Clean up the yard, driveway, lawn, and roof. Everyday home objects like toys, gardening tools can ruin the beauty of your home in pictures. Early morning is the best time to shoot your home as the streets will be close to empty. If possible, trim your lawn too, as it will save you time and effort while editing.
2. Adjust Drone Settings
Drones these days come with countless settings for the flight of the aircraft and camera operations. To get photos of maximum resolution in drone photography for real estate, change the camera aspect ratio to 3:2. 4:3 will also do the trick. Also, use autofocus as it will take a lot of weight off your shoulders and won’t disappoint you with blurry images. There are intelligent flight modes too available on aircraft, namely First Person View (FPV), Heads free mode, etc.
3. Use Natural Light
Natural light plays an integral role in drone photography. Although, of course, there are drone lighting kits available, nothing can replace the warm glow that the sun adds to your real estate pictures. If you are shooting at noon, take advantage of the timing because the sun’s position then minimizes shadows. However, if the lighting is too harsh, use neutral-density filters available for drones restricting the amount of light entering the lens. On the other hand, sunrise/ sunset is every photographer’s favorite time to shoot, but be wary of the long shadows that this golden hour can cause on your photos.
4. Fly Your Drone Low
A common mistake in drone photography for real estate is the tendency to fly drones too high up in the sky, which captures only the roof and surroundings of the home. Since real estate photography aims to give a rounded view of the listing, fly your drone closer to the house to show every possible part of the exterior.
5. Highlight the Home’s Best Features
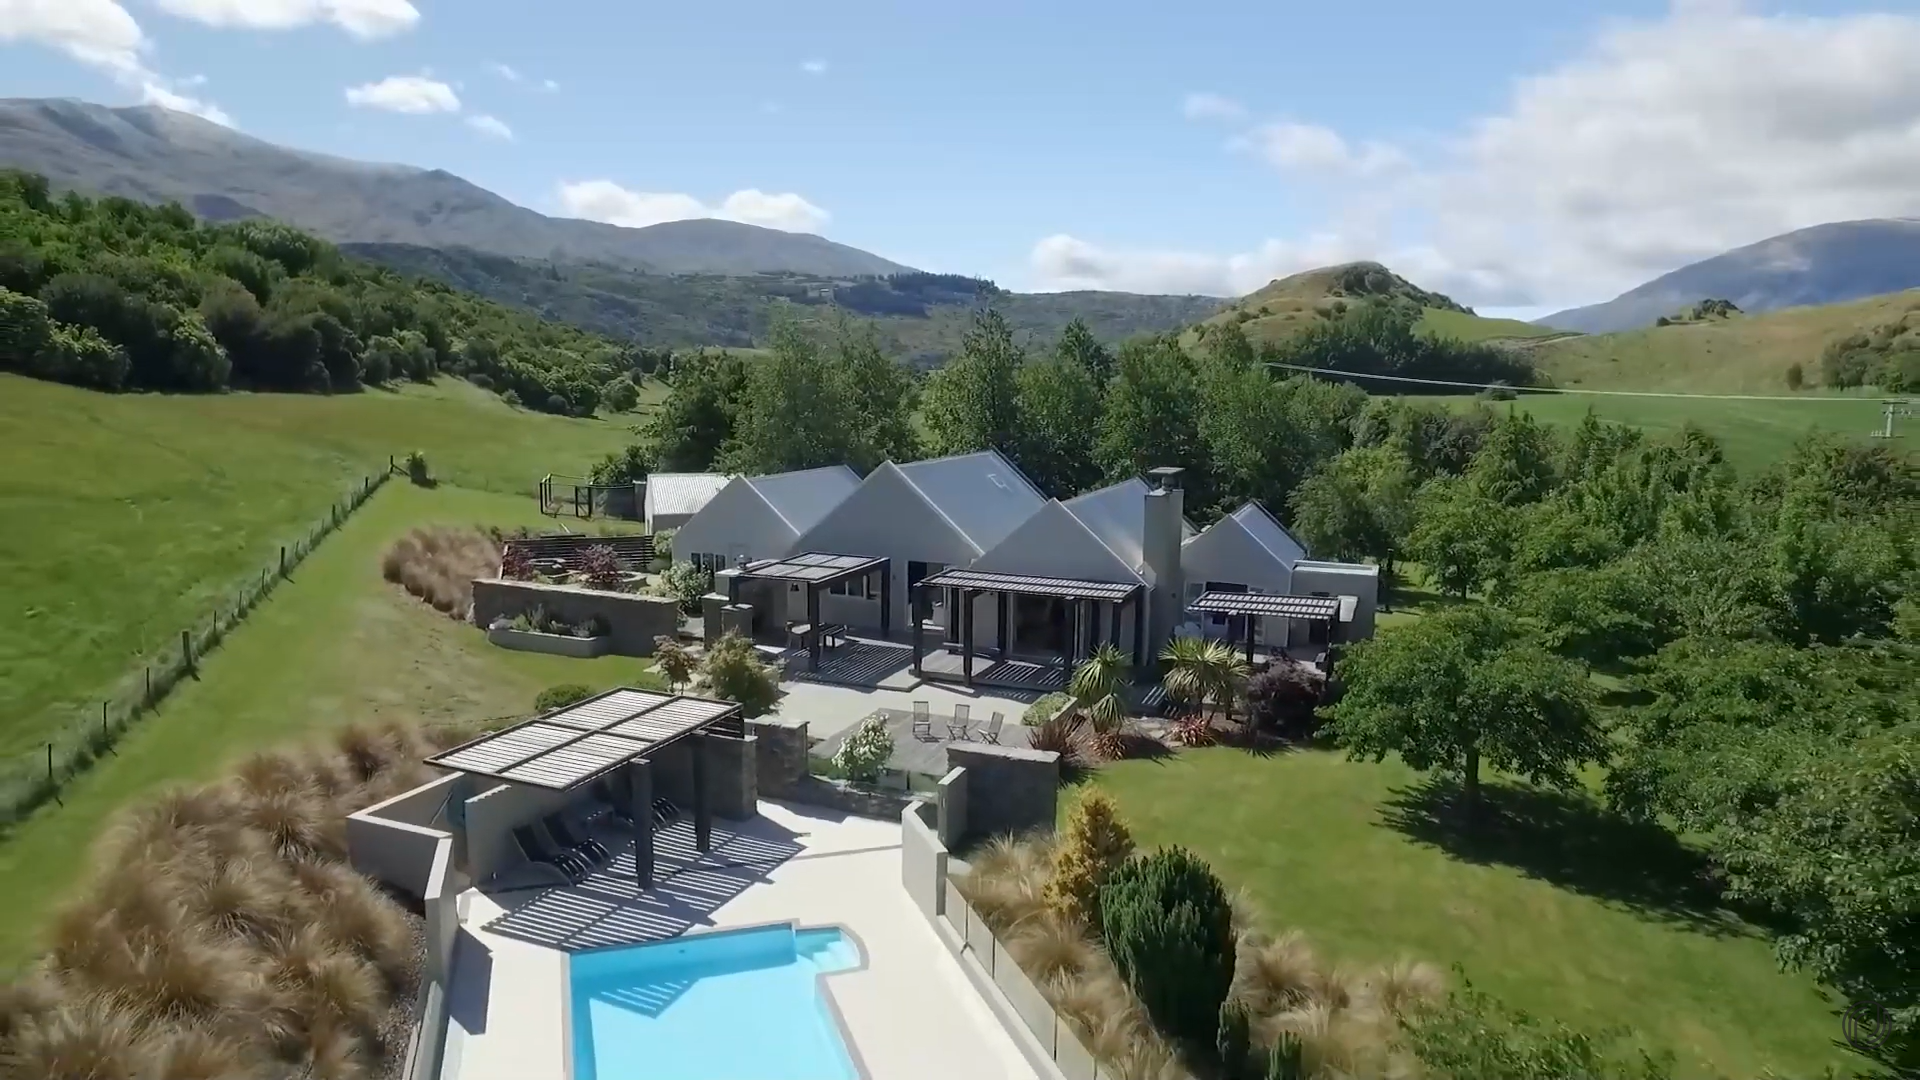
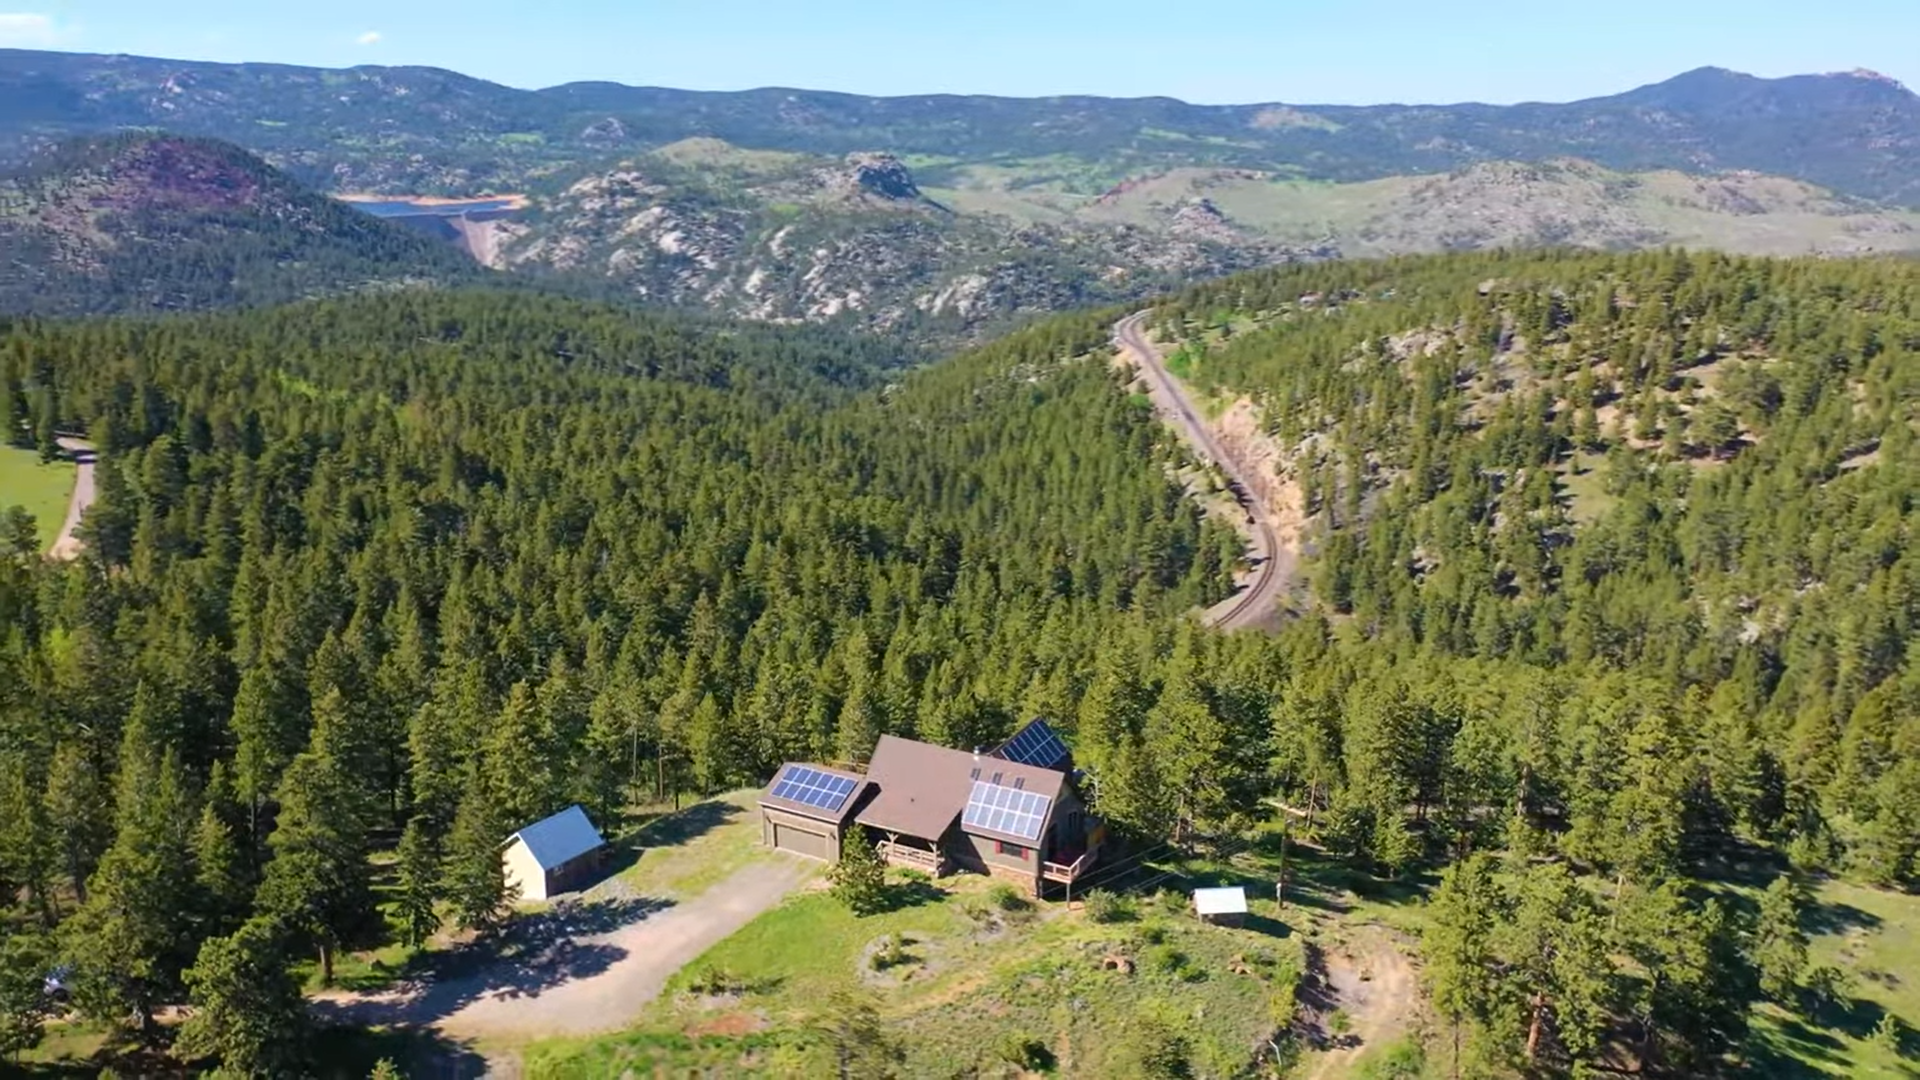
Every home has something that makes it stand out. Be it the sprawling lawn or a luxurious swimming pool, focusing on these exceptional features will make your listing sell. To ensure that the viewer’s eyes get caught in such property attributes, increase the lighting in those areas while editing. Also, don’t forget to capture the surrounding areas of the listing using drone photography, be it the surrounding homes or the lush greenery, because homebuyers are keen to learn about the neighborhood they are moving into.
6. Bring Diversity into Shots and Angles
Variety in shots and angles can spice up the final output in real estate photography. So instead of just sticking to pictures from high up, give importance to capture the exterior details of the listing, such as the flowers in the garden and the beautiful deck. Floating around in the sky at 20 feet will help you strike the right balance between the subject and its details. Also, click many different photographs from the same angle so that you can choose the best one finally from drone photography for real estate.
7. Shoot in RAW and Edit Later
As you probably know, photography is 50% shooting and 50% editing. Average pictures can be transformed in the hands of a good photo editor. It is always recommended to shoot your real estate images in RAW format to retain as many photo properties as possible. RAW files are larger, so ensure your SD card is capable enough to store the images without compression.
Adobe Lightroom and Photoshop are popular photo editing tools that tailor your photos according to your clients’ needs. While some prefer popping colors, others prefer their real estate photographs to be lukewarm. Now, many photographers resort to outsourcing photo editing because it produces professional results quickly. At Styldod, we assist real estate agents in the overall beautification of homes. Our suite of services consists of several photo editing ones, including image enhancement, object removal, occupied to vacant, and day to dusk. Choosing us as your real estate photo editor can have the following benefits:
Taking Your Drone Photography to Next Level
When it comes to real estate photography drones, they play a pivotal role in capturing what no camera and talent on the ground can capture. Aerial photos are only possible with drones, and aerial shots can make all the difference in showcasing the best angles of a property.
Some glitches can occur, like bracketed exposures, shaky shots, blurred images or even clutter getting captured in certain shots. You might catch leaves floating in the swimming pool, or a neighbor's car outside the driveway, or perhaps the trash can is caught in a frame or two.
Our team of virtual staging editors at Styldod can help you enhance all the images with our services like our Image Enhancement Service or our Object Removal Service. We also offer Day to Dusk image editing to make your photos even more compelling.
Styldod is a design-tech company that aims to simplify real estate marketing and help agents present homes in their most favorable light online by reimagining and automating the listing photography process.
Having begun as a virtual staging company, today, Styldod has affordable and best-in-class products and services for every facet of real estate marketing and photography. Styldod’s suite of services include virtual staging, image enhancements, floor plans, virtual renovation, 3D renders, 360-degree virtual tours, and Matterport virtual staging, to name a few. We're trusted by over 10,000 realtors from all over the US and from agencies like ReMax, Coldwell Banker, Keller Williams.
Take Your Drone Photography to the Next Level with the Styldod Image Enhancement Tool!
Frequently Asked Questions (FAQs)
1. What is drone photography in real estate?
Drone photography is when real estate photos and videos are taken from above using a drone. These aerial shots give a unique view of the property that regular cameras can't capture, making listings stand out instantly.
2. What type of drone is best for real estate photography?
Look for a drone that offers:
- A camera with at least 12MP and 4K video
- A gimbal for smooth, stable shots
- Long battery life to cover the whole property
- A strong range for larger areas
Popular options include the DJI Air 2S and DJI Mini 4 Pro, both priced around $800 to $1,200.
3. How do I start real estate photography?
Start by learning about the local market and checking what other photographers are offering. Build a solid portfolio, decide your pricing, and invest in good editing tools. Know the basics of lighting, angles, and editing. Promote your work online to attract clients.
4. How have drones changed real estate marketing?
Drones help properties sell faster by giving buyers a bird’s-eye view. Homes with drone photos are 68% more likely to sell quickly. Aerial shots show off property size, layout, and surroundings in a way regular photos can’t. That’s why they’re now used for everything from homes to resorts and commercial spaces.
Key Takeaways
- Real estate drone photography gives buyers a full aerial view of a property, making listings more attractive and helping them sell up to 68% faster.
- It highlights features like lot size, surroundings, and landscape, offering a better sense of space than traditional ground-level photos.
- Drone photos are especially useful for large plots, luxury homes, and remote buyers who want a full visual before visiting.
- Pricing ranges from $150 to $600 depending on property size, services included, and the photographer’s experience.
- Drones require legal permissions, good weather, and post-editing, but they offer high-impact visuals perfect for social media and premium listings.