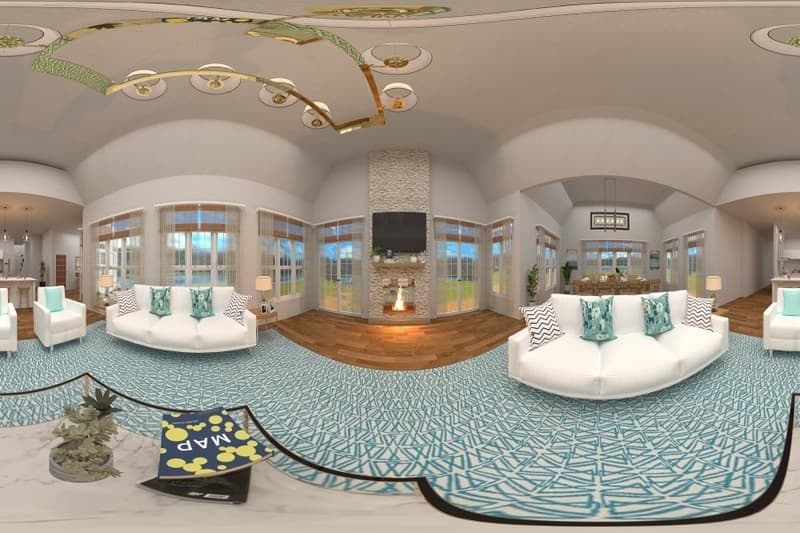
The emergence of virtual reality has led to incredible innovation in photography with 360° photography. 360° photos allow the viewer to interact with the image and explore the entire environment around the camera that captured it. A 360° panoramic image consists of several ideas that are joined together using stitching software.
There are several ways to create a 360° photo with the right equipment. You can use DSLRs, point and capture cameras, smartphones, camera sets, and still image solutions. To get started, you must learn the basics. Next, it is all about the practice, which will help you get better with each photo you shoot! Here’s a list of tips that will also help.
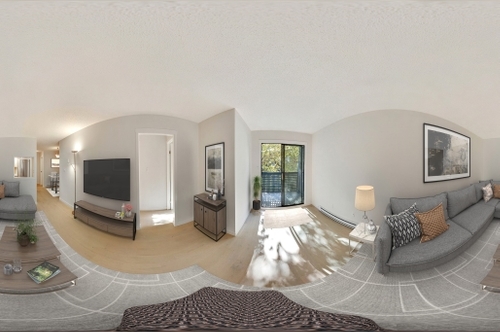
Table of Contents
Simple, yet effective tips to take the stunning 360° photos
Remove moving objects
Moving objects can affect the quality of 360° photos. Although the software will make adjustments to some extent, it is always a better idea to avoid having moving objects in your frame. When capturing motion using the bracket method (when you take several shots of the same subject using different camera settings), there are chances that the object will appear as a shadow image or a transparent double image in the panoramic photo area where two adjacent photos overlap. Best to keep this in mind.
Don't get too close
Keep a reasonable distance from obstructing objects that you want to shoot. If the subject is too close to the camera, the panoramic image may become distorted. For instance, if a wall is too close to the camera, the photos may not overlap enough, resulting in stitch failure. Likewise, when trying to shoot from an angle to make a room appear larger, people make this common mistake, especially in real estate. So remember to watch for these elements.
Avoid backgrounds with cross or striped patterns
When choosing a location, avoid areas with crossovers or stripes. This can affect the photo quality as it will be challenging to connect the lines perfectly when stitching the photo. The best places to shoot good 360° photos are lawns or terrain without visual or physical obstacles. Even big open rooms or connecting interiors work well.
Be aware of the sun when taking 360° photos
When shooting outdoors, consider shadows and shoot in the shade so that the shooter sign doesn't appear in the image. Panoramic shots typically use a wide-angle lens which can capture a wider variety of scenes, providing a better chance of catching the photographer’s shadow.
Shoot at AEB (Auto Exposure Bracketing) mode if it's sunny
Sometimes, the photo may appear too dark or too bright even if you set the correct average exposure, especially on a sunny day. If you adjust the exposure for shaded areas, the details of the dark spots disappear and vice versa. In this case, it is best to shoot in AEB (Auto Exposure Bracketing) mode and stitch photos with HDR (High Dynamic Range).
Keep the same exposure for all photos
If you set the direction to Auto, each image can have a different exposure level, affecting the quality of the panoramic photo. Therefore, it is best to set the camera manually. DSLR cameras usually have an "M" mode which allows the user to select the aperture or shutter speed. In this mode, set the exposure in the center and adjust the aperture and shutter speed to avoid overexposure or exposure.
Save your photos in RAW format
Although RAW file sizes are more significant than JPEGs, you can get better quality because the images are not compressed, which can degrade the quality of your 360° photo. In addition, RAW is less flexible to read than JPEG. RAW files are also helpful when importing images into other photo editing programs such as Photoshop and Lightroom.
Get a tripod
A tripod allows you to lift the camera in the air and away from the image to take the pictures. Raising a camera without a tripod can be a nightmare. The lens can stick out, and if it is tilted, it will land on the glass first. You can end up with images and shots that are broken due to your finger being in the way. It's pretty hard to take simple panoramas without a tripod!
Use a good 360° camera
If you want truly amazing 360° photos and have the option of investing in a special camera to take such photos, it is definitely wise to buy one. We have a list of some fantastic 360° cameras that are user-friendly, priced competitively, and only require a few minutes to learn how to use them effectively.
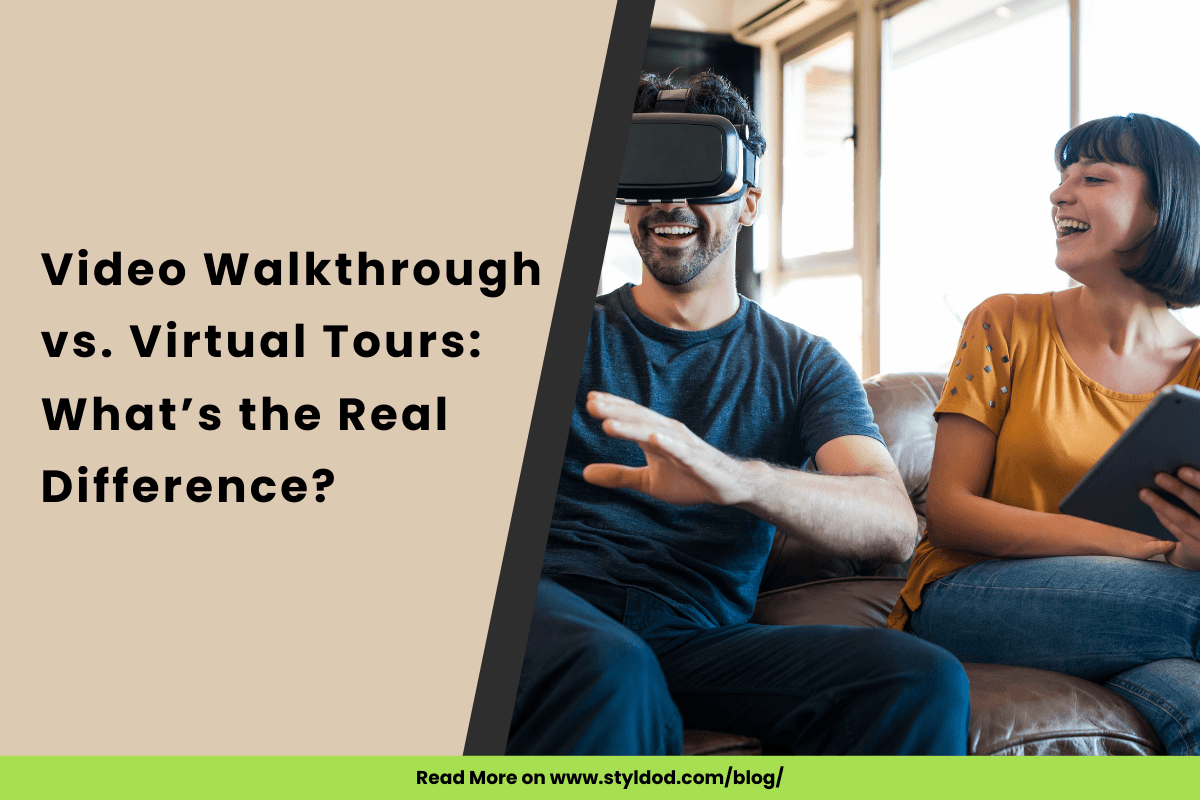
Related article - How To Make Effective 360 Virtual Tours For Real Estate Listings?
360° photos can be game-changing, especially when you want to market your real estate listings. You can share them with your potential buyers and publish them on your website. When you take these photos well, they are sure to up your game and also prove resourceful in other ways. For instance, you can also use them for virtual tours. After taking 360° photos, hand them over to us at Styldod, and we will create a wonderful 360° virtual tour of your property listing. Get in touch with us if you want us to create engaging virtual tours for your listing. We also have other services that you could benefit from.